
Imagine biting into a sandwich where crispy, golden-brown chicken meets the tangy crunch of pickles, all nestled between soft, toasted buns. It’s a symphony of textures and flavors that dances on your palate, a culinary experience that’s both satisfying and unforgettable.
This Crispy Fried Chicken Sandwich with Pickles is more than just a meal; it’s a hug in sandwich form, perfect for a casual lunch, a fun game night, or anytime you crave a little comfort food magic. The combination of juicy chicken, crunchy pickles, and that satisfying crisp will have you coming back for more every time!
Here’s why you’ll adore this recipe:
- Achieve the perfect balance of crispy, juicy chicken and tangy, refreshing pickles for an unforgettable flavor explosion.
- Enjoy a surprisingly simple recipe that delivers restaurant-quality results, even if you’re a beginner cook.
- Customize your sandwich with your favorite toppings and sauces for a truly personalized culinary adventure.
- Create a fun and satisfying meal that’s guaranteed to be a hit with family and friends, any day of the week.
Ingredients for Crispy Fried Chicken Sandwich with Pickles
Here’s what you’ll need to make this delicious dish:
The full ingredients list, including measurements, is provided in the recipe card directly below.
How to Make Crispy Fried Chicken Sandwich with Pickles
Follow these simple steps to prepare this delicious dish:
Step 1: Marinate the Chicken
In a bowl, combine the chicken breasts with buttermilk, salt, and pepper. Allow the chicken to marinate in the refrigerator for at least 30 minutes, or up to 4 hours, to tenderize and infuse it with flavor.
Step 2: Prepare the Breading Station
Set up three shallow dishes. In the first dish, whisk together the flour, cornstarch, paprika, garlic powder, onion powder, cayenne pepper, salt, and black pepper. In the second dish, beat the eggs. In the third dish, place the panko breadcrumbs.
Step 3: Bread the Chicken
Remove the chicken from the buttermilk marinade and dredge each piece in the flour mixture, ensuring it’s fully coated. Dip the floured chicken into the beaten eggs, then dredge it in the panko breadcrumbs, pressing gently to adhere.
Step 4: Fry the Chicken
Heat vegetable oil in a large skillet or deep fryer to 350°F (175°C). Carefully place the breaded chicken pieces in the hot oil, ensuring not to overcrowd the pan. Fry for about 6-8 minutes per side, or until golden brown and cooked through. Use a thermometer to ensure the internal temperature reaches 165°F (74°C).
Step 5: Assemble the Sandwiches
Toast the brioche buns lightly. Spread mayonnaise on both halves of each bun. Place a crispy fried chicken breast on the bottom bun, top with dill pickle slices, and cover with the top bun.
Step 6: Serve and Enjoy
Serve your Crispy Fried Chicken Sandwich with Pickles immediately, accompanied by your favorite sides like coleslaw, french fries, or potato salad for a complete and satisfying meal.
Perfecting the Cooking Process

To ensure the ultimate Crispy Fried Chicken Sandwich with Pickles experience, timing is key. Start by prepping your chicken and pickles. Then, while the chicken marinates, whip up your sauce and prepare your sandwich assembly line. Finally, fry the chicken right before serving for maximum crunch.
Add Your Touch
Feeling adventurous? Swap out the classic mayo-based sauce for a tangy honey-mustard or a spicy sriracha mayo. For a different crunch, try potato chips instead of pickles! Experiment with different chicken cuts like chicken breast or chicken tenders to your preference.
Storing & Reheating
Ideally, this Crispy Fried Chicken Sandwich with Pickles is best enjoyed fresh. However, you can store the cooked chicken separately in the fridge for up to 3 days. Reheat in the oven or air fryer to maintain crispness. Assemble the sandwich only when ready to serve to prevent sogginess.
Here are some tips to help you make the ultimate Crispy Fried Chicken Sandwich with Pickles:
- Don’t overcrowd the pan when frying the chicken; this lowers the oil temperature and results in soggy, not crispy, chicken.
- Use a meat thermometer to ensure the chicken is cooked through. It should reach an internal temperature of 165°F (74°C) for safety.
- Toast the buns lightly! This will prevent them from getting soggy from the sauce and chicken juices, adding a textural contrast.
(Personal anecdote formated as paragraph subheading)
I once made these for a picnic, and they were such a hit! Even my picky cousin, who usually avoids anything remotely “spicy,” devoured two of them. Now, it’s a must-have at every family gathering!
Crispy Fried Chicken Sandwich with Pickles: A Culinary Adventure
Picture this: a golden-brown, impossibly crispy chicken fillet nestled between two toasted buns, slathered with a tangy, creamy sauce, and crowned with crunchy, vinegary pickles. Yes, my friends, we’re talking about the Crispy Fried Chicken Sandwich with Pickles, and we are about to embark on a flavor journey that will leave you speechless (or, more likely, muttering happy little noises between bites). Forget those sad, pre-made sandwiches lurking in fast-food chains. We’re doing this from scratch, and we’re doing it *right.* This isn’t just a sandwich; it’s an *experience*.
The Anatomy of a Perfect Sandwich
Let’s break down the key elements that make this Crispy Fried Chicken Sandwich with Pickles sing. It’s not just about slapping some ingredients together. It’s about achieving a harmonious balance of textures and flavors. Think of it as a symphony of deliciousness, with each component playing its part to perfection.
The Chicken: The Star of the Show
Okay, let’s be honest, the chicken is the reason we’re all here. We need that perfect crispy exterior that shatters with each bite, giving way to juicy, tender meat. We will be using chicken breasts for this recipe.
The Brine is Divine
Don’t even *think* about skipping the brine. This is where the magic happens. Soaking the chicken in a salty, flavorful brine not only tenderizes the meat but also infuses it with moisture, ensuring a juicy interior even after frying. We’re talking next-level juicy! Mix together water, salt, sugar, and your favorite herbs and spices. Let the chicken soak for at least 30 minutes, or up to a few hours in the fridge. Trust me, the extra step is worth it.
The Crispy Coating: The Armor of Flavor
The coating is what gives us that satisfying crunch. We’re going for a double dredge situation here. This means coating the chicken in seasoned flour, dipping it in an egg wash (eggs mixed with milk), and then coating it again in the seasoned flour. For extra crunch, you can add some cornstarch or panko breadcrumbs to the flour mixture. Season generously with salt, pepper, garlic powder, onion powder, paprika, and a pinch of cayenne pepper for a little kick.
Frying Time: The Moment of Truth
Heat your oil to 350°F (175°C). Use a deep fryer or a large pot filled with enough oil to fully submerge the chicken. Carefully lower the chicken into the hot oil and fry for about 6-8 minutes per side, or until golden brown and cooked through. Use a meat thermometer to ensure the internal temperature reaches 165°F (74°C). Place the fried chicken on a wire rack to drain excess oil. This helps maintain the crispiness.
The Sauce: The Flavor Glue
The sauce is what ties everything together, adding moisture, tanginess, and creaminess. We’re making a simple but incredibly delicious sauce that perfectly complements the fried chicken and pickles.
Simple Sauce Ingredients
Combine mayonnaise, Dijon mustard, a splash of apple cider vinegar, a pinch of sugar, and some black pepper. Adjust the ratios to your liking. If you want it spicier, add a dash of your favorite hot sauce.
The Pickles: The Tangy Counterpoint
The pickles are the unsung heroes of this sandwich. They provide that crucial tangy, vinegary crunch that cuts through the richness of the fried chicken and sauce.
Choose Your Pickles Wisely
Dill pickles are the classic choice, but feel free to experiment with spicy pickles, bread and butter pickles, or even homemade pickles. Just make sure they’re crunchy!
The Bun: The Foundation of Flavor
The bun is the foundation upon which this masterpiece is built. It needs to be sturdy enough to hold all the ingredients without falling apart, yet soft enough to provide a pleasant bite.
Bun Selection
Brioche buns are my go-to choice. Their slightly sweet, buttery flavor and soft texture are perfect for this sandwich. Lightly toast the buns to add some warmth and prevent them from getting soggy.
The Recipe: Let’s Get Cooking!
Alright, enough talk! Let’s get down to business and make this Crispy Fried Chicken Sandwich with Pickles. Follow these steps carefully, and you’ll be rewarded with sandwich perfection.
Ingredients for the Crispy Fried Chicken Sandwich with Pickles
- 2 boneless, skinless chicken breasts
- 2 cups water
- 1/4 cup salt
- 2 tablespoons sugar
- 1 teaspoon black pepper
- 1 teaspoon garlic powder
- 1 teaspoon onion powder
- 1 teaspoon paprika
- 1/2 teaspoon cayenne pepper (optional)
- 2 cups all-purpose flour
- 2 large eggs
- 1/2 cup milk
- Vegetable oil, for frying
- 4 brioche buns
- 1 cup dill pickle slices
- 1/2 cup mayonnaise
- 2 tablespoons Dijon mustard
- 1 tablespoon apple cider vinegar
- 1 teaspoon sugar
- Black pepper, to taste
Instructions for the Crispy Fried Chicken Sandwich with Pickles
1. **Brine the Chicken: ** In a large bowl, combine water, salt, sugar, black pepper, garlic powder, onion powder, paprika, and cayenne pepper (if using). Add the chicken breasts and let them soak in the fridge for at least 30 minutes, or up to 2 hours.
2. **Prepare the Dredge: ** In a shallow dish, combine flour, salt, pepper, garlic powder, onion powder, paprika, and cayenne pepper. In another shallow dish, whisk together eggs and milk.
3. **Coat the Chicken: ** Remove the chicken from the brine and pat dry with paper towels. Dredge each chicken breast in the flour mixture, then dip in the egg wash, and finally coat again in the flour mixture, pressing to ensure it adheres well.
4. **Fry the Chicken: ** Heat vegetable oil in a deep fryer or large pot to 350°F (175°C). Carefully lower the chicken into the hot oil and fry for about 6-8 minutes per side, or until golden brown and cooked through. Use a meat thermometer to ensure the internal temperature reaches 165°F (74°C). Place the fried chicken on a wire rack to drain excess oil.
5. **Make the Sauce: ** In a small bowl, whisk together mayonnaise, Dijon mustard, apple cider vinegar, sugar, and black pepper. Adjust the seasoning to your liking.
6. **Assemble the Sandwiches: ** Lightly toast the brioche buns. Spread the sauce on both halves of each bun. Place a fried chicken breast on the bottom bun, top with pickle slices, and cover with the top bun.
7. **Serve and Enjoy: ** Serve the Crispy Fried Chicken Sandwich with Pickles immediately and prepare for a flavor explosion!
Beyond the Basics: Variations and Twists
Once you’ve mastered the basic recipe, feel free to get creative and experiment with different variations. The possibilities are endless!
Spicy Chicken Sandwich
Add more cayenne pepper to the flour mixture, use spicy pickles, or add a dash of hot sauce to the sauce.
Honey Mustard Chicken Sandwich
Replace the mayonnaise-based sauce with a honey mustard sauce.
BBQ Chicken Sandwich
Use your favorite BBQ sauce instead of the mayonnaise-based sauce.
Add Cheese
Add a slice of cheddar, pepper jack, or Swiss cheese to the sandwich.
Coleslaw Topping
Top the sandwich with coleslaw for added crunch and flavor.
The Joy of Sharing: A Sandwich for Every Occasion
This Crispy Fried Chicken Sandwich with Pickles is perfect for any occasion, from a casual weeknight dinner to a weekend gathering with friends and family. It’s a crowd-pleaser that’s guaranteed to put a smile on everyone’s face. Plus, making it from scratch is a fun and rewarding experience. So, gather your ingredients, put on some music, and get ready to create some sandwich magic. Your taste buds will thank you!
Conclusion for Crispy Fried Chicken Sandwich with Pickles:
This Crispy Fried Chicken Sandwich with Pickles is more than just a meal; it’s an experience. From the initial dunk in the buttermilk to the final satisfying crunch, every step is designed for maximum flavor and enjoyment. Don’t be intimidated by the frying – with a little practice, you’ll be whipping up restaurant-quality sandwiches in no time. So gather your ingredients, put on some music, and get ready to create a masterpiece. Your taste buds will thank you!
Print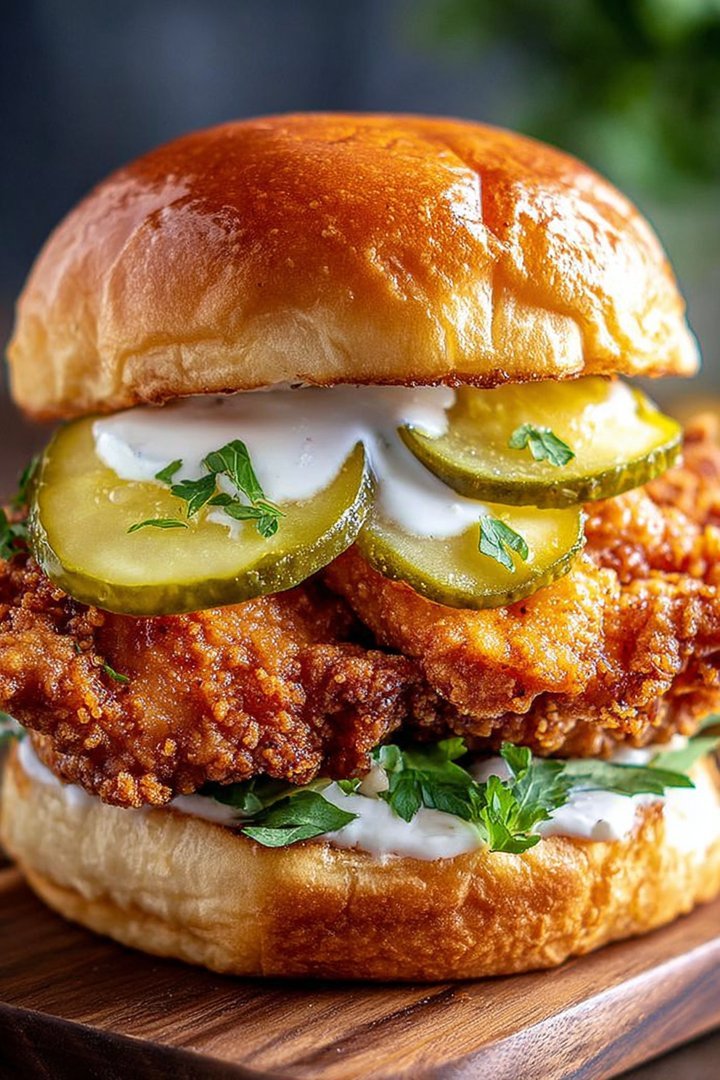
Crispy Fried Chicken Sandwich with Pickles
Delicious crispy fried chicken sandwich with pickles recipe with detailed instructions and nutritional information.
- Total Time: 35 minutes
- Yield: 4 servings
Ingredients
- Boneless, skinless chicken thighs: 1.5 lbs
- All-purpose flour: 2 cups
- Buttermilk: 1 cup
- Paprika: 2 tablespoons
- Garlic powder: 1 tablespoon
- Onion powder: 1 tablespoon
- Salt: 2 teaspoons
- Ground black pepper: 1 teaspoon
- Dill pickle chips: 1 cup (or to taste)
- Brioche buns: 4
- Mayonnaise: 1/2 cup
- Hot sauce: 1-2 tablespoons
- Vegetable oil: 4 cups
Instructions
- Step 1: In a bowl, whisk together flour, paprika, garlic powder, onion powder, salt, and pepper. In another bowl, pour in the buttermilk.
- Step 2: Dredge each chicken thigh in the flour mixture, then dip it into the buttermilk, and dredge it again in the flour mixture, ensuring it's fully coated.
- Step 3: Heat vegetable oil in a large skillet over medium-high heat. Carefully place the coated chicken thighs into the hot oil, being careful not to overcrowd the pan.
- Step 4: Fry the chicken for about 6-8 minutes per side, or until golden brown and cooked through. The internal temperature should reach 165°F (74°C). Remove the chicken and place on a wire rack to drain excess oil.
- Step 5: In a small bowl, mix mayonnaise and hot sauce. Spread the mixture on both halves of the brioche buns. Place a fried chicken thigh on the bottom bun, top with dill pickle chips, and then add the top bun. Serve immediately.
Notes
- Store leftover fried chicken in an airtight container in the refrigerator for up to 3 days.
- To reheat, bake the chicken in a 350°F (175°C) oven for 10-15 minutes to restore crispness.
- Serve your crispy chicken sandwich with a side of coleslaw or potato wedges for a complete and satisfying meal.
- For extra crispy chicken, let the dredged chicken rest on a wire rack for 15 minutes before frying to allow the coating to adhere better.
- Prep Time: 15 minutes
- Cook Time: 20 minutes
- Method: Stovetop
- Cuisine: American
FAQs:
Can I use chicken thighs instead of breasts for this Crispy Fried Chicken Sandwich with Pickles?
Absolutely! Chicken thighs are a fantastic alternative. They tend to be more flavorful and stay juicier during the frying process. Just make sure they’re boneless and skinless. You might need to adjust the cooking time slightly, as thighs can take a bit longer to cook through than breasts. But trust me, the extra flavor payoff is worth it. Think of it as a little secret upgrade to your sandwich. You can also cut the thighs into smaller sizes before frying to ensure proper cooking.
What kind of pickles should I use for the ultimate Crispy Fried Chicken Sandwich?
This is where personal preference really shines! I’m a dill pickle devotee, myself, but sweet pickles can also add a delightful contrast to the savory chicken. For the crispiest, most satisfying crunch, look for pickles that are nice and firm. Claussen pickles are a great option. You can even experiment with different pickle cuts – chips, spears, or even sliced lengthwise. Don’t be afraid to try bread and butter pickles if you want a sweeter taste on your fried chicken.
How do I make sure my Crispy Fried Chicken Sandwich doesn’t get soggy?
Ah, the age-old question! The key to avoiding a soggy sandwich is all about controlling moisture. First, make sure your chicken is completely dry before breading. Use a paper towel to pat it down. Second, fry at the correct temperature (350-375°F) to ensure the chicken cooks quickly and doesn’t absorb too much oil. Finally, don’t assemble the sandwich until right before serving. Toasting the buns lightly can create a barrier against moisture too.
What’s the best way to reheat leftover Crispy Fried Chicken Sandwich?
Reheating fried chicken can be tricky, but it’s not impossible to recapture some of that crispy glory. The oven is your best bet. Preheat it to 350°F. Place the chicken on a wire rack set over a baking sheet. This helps air circulate and keeps the bottom from getting soggy. Reheat for about 10-15 minutes, or until heated through. While not quite as good as fresh, it will still be much better than microwaving, which leads to a sad, steamy chicken experience.


Leave a Comment